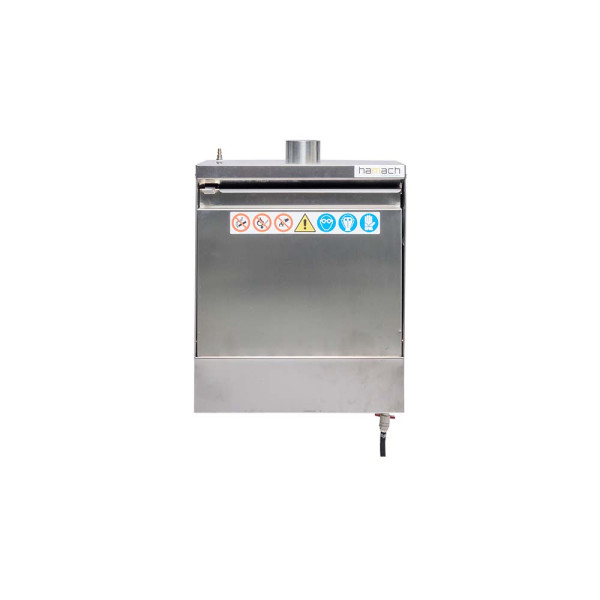
Fix an air hose to the air connector on the bottom left hand side with quick connector. Open the cover plate: the air extraction now automatically functions. A safety ratchet gear on the left side of the cover causes the venturi system to start up when opening the cover and directly stops when closing it. If this functions well, pour a minimum of 3 L (max. 7 L) cleaning agent into the tank and replace the receptacle plate to the tank. Turn on the tap on the left side: now solvent is fed via the hose to the brush. If this functions well, the micro cleaner is ready for use. Fill the rest of the tank with cleaning agent (a total of max. 7 L) and close the cover plate. When the cover is closed the venturi extraction will not function.
Close the cover and hold a jerry can (min.10 litre capacity ) under the tap. Turn the tap open. The polluted cleaning agent is now discharged from the tank into the jerry can. Close the tap. Remove the receptacle from the tank and pour ½ litre clean solvent into the tank. Clean the tank and the filter which is attached to the suction hose. Hold the jerry can under the drain tap, turn the tap on and clean the tank with the brush. Close the tap. Again fill the tank with clean solvent: the micro cleaner is now ready for re-use.
For installation follow the following procedure:
Remove the carton box – one person can relocate the micro cleaner upright to the assigned area which must be well ventilated and away from electrical switches, sources of heat and sparks. Earth the installation by leading the bi-coloured cable from the mounting bolt near the air supply connection to the ground. The micro cleaner is developed for wall attachment and before positioning, mark the position of the holes to be bored in the wall. Hang the micro cleaner with the help of screws and plugs and check if it is level and firmly fixed. Connect the outlet tap on the right hand bottom side: this is for draining polluted cleaning agent. Connect the air coupling on the left hand bottom side. Install a fixed or flexible pipe line to the vapour outlet aligned vertically for 80 – 100 cm. and lead this outdoors. If the chimney is longer than 2 metres, use a galvanised iron exhaust pipe with a diameter of 15 cm. to prevent friction and place the bend as far away as possible from the micro cleaner. E.g. if the exhaust pipe is 5 metre long, lead it for 3-4 metres vertically and 1-2 metres horizontally instead of 1 metre vertically and 4 metres horizontally. Close the cover plate. Check if the outlet tap is closed.
On receipt of the micro cleaner inspect the packaging for transport damage and check if all accessories are complete and undamaged. Claims must be submitted within 24 hours on receipt and the buyer is entitled to the guarantee only if he complies with the conditions of guarantee as mentioned below.
a. EMM hereby declares that the HR 1000 stainless steel micro cleaner comes with a one year guarantee from the date of purchase, certified by the delivery document of the supplier and when the terms of payment have been met. If the buyer is entitled to a claim he must refer to the serial number and if possible the production year.
b. The guarantee includes free of charge replacement or repair of spare parts with production faults.
c. Guarantee services are carried out by the manufacturer/supplier or an authorized service centre: the equipment should be forwarded free domicile and will be returned at EMM expense. Replacement of defect or misused parts will be charged to the customer.
d. The manufacturer can not be held responsible for direct or indirect damage to persons or property as a result of misuse or failing to follow directives in this manual, especially with regard to obeying warnings concerning positioning, installing, operating and maintaining the micro cleaner. The present guarantee does not cover compensation for direct or indirect damage as a result of down time of the equipment.
Except in the situations mentioned, this guarantee becomes invalid in the following cases :
• if the micro cleaner has been misused or mishandled
• if damage occurs as a result of neglect and insufficient maintenance
• if damage occurs due to self-repair or adaptations without the supplier’s/E.M.M. permission or
• damage due to non-original spare parts being installed
• if the directives in this manual have not been not followed
• if corrosive solvents have been used


